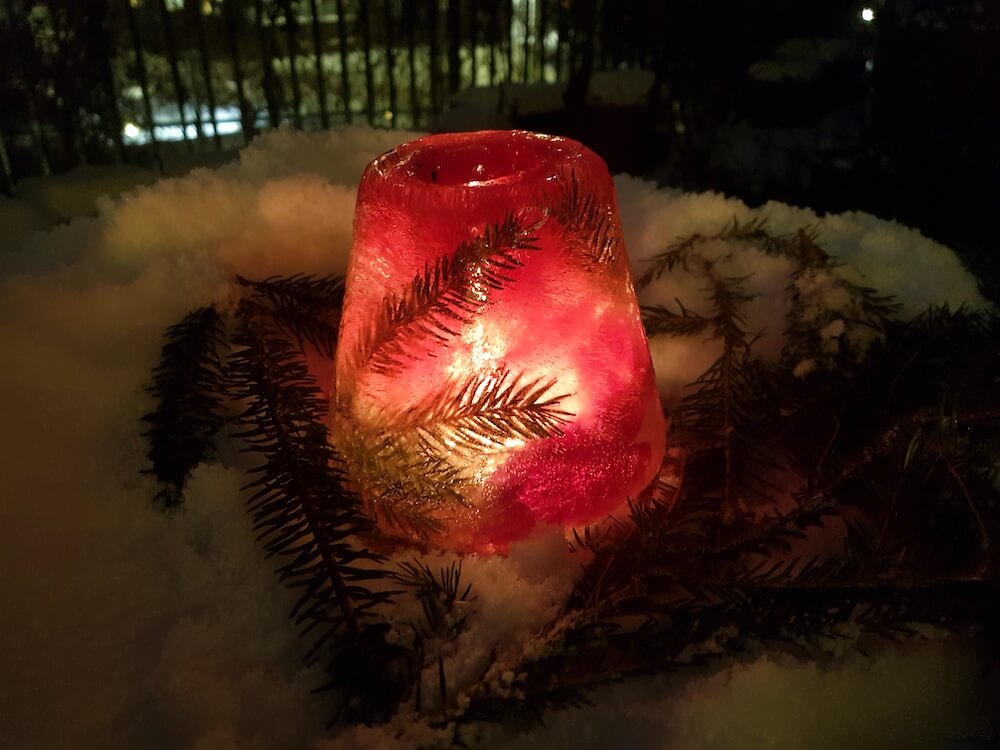
While the recent freezing weather has left us with lots to complain about, it has also given us the perfect conditions for making beautiful ice lanterns. (If it’s too mild, you can make one in the freezer.)
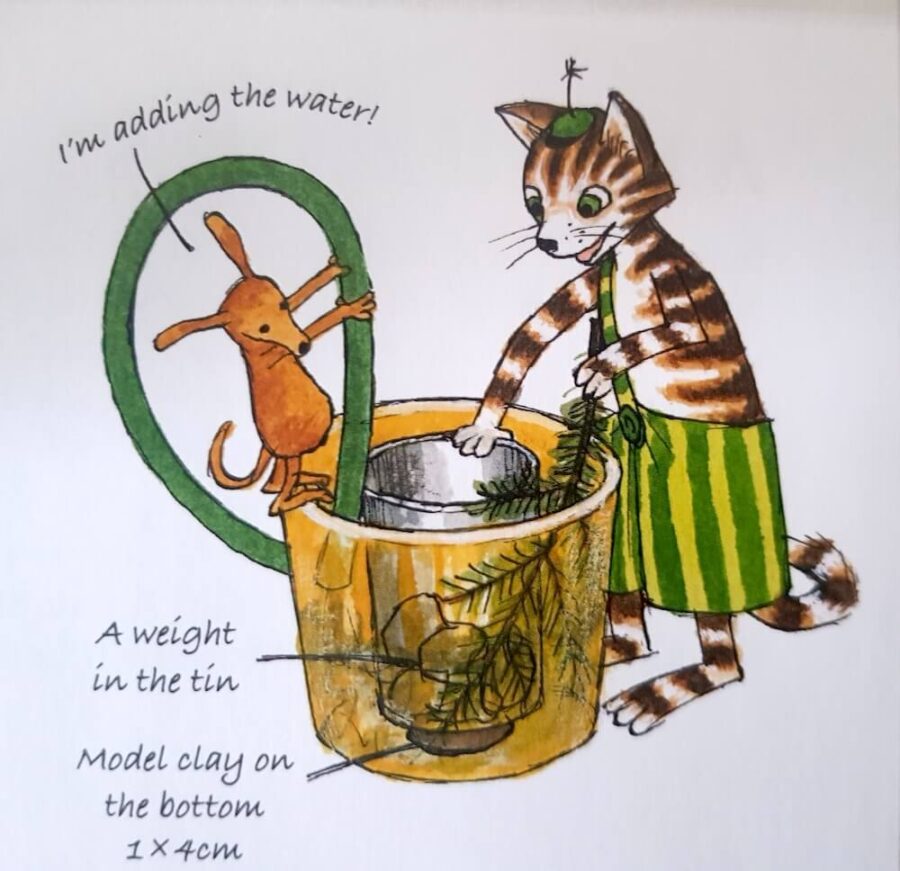
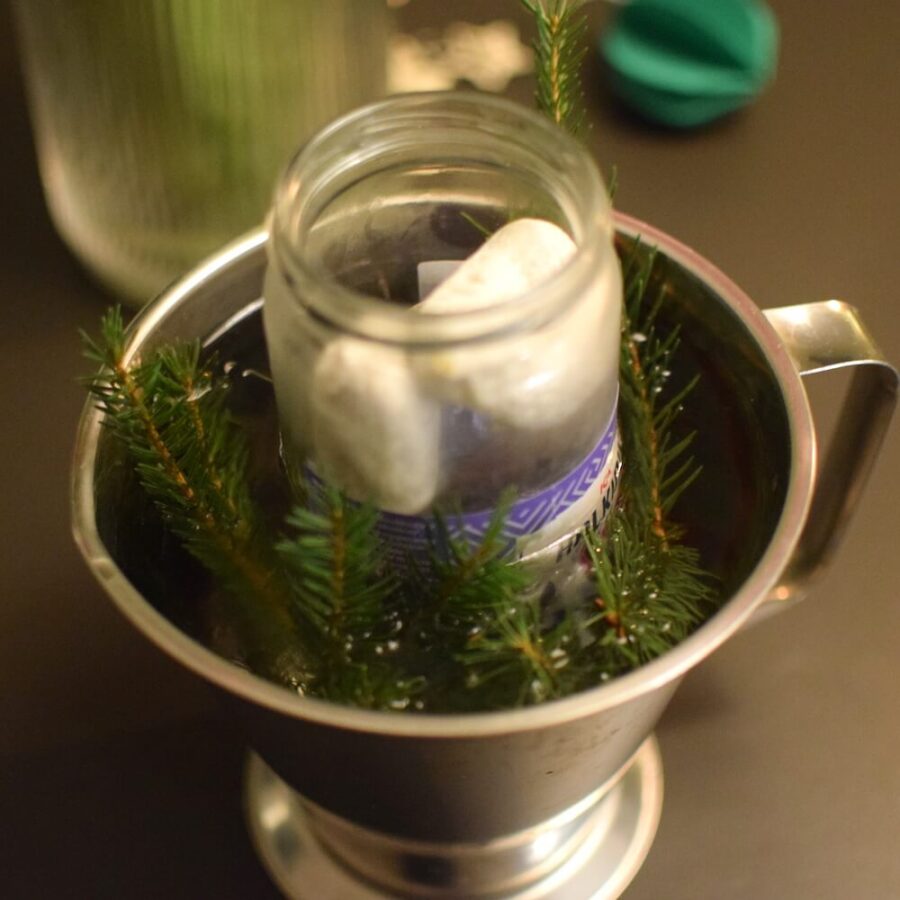
Take a small bucket or similar and fill it with water. For the candle to burn in the finished lantern, there needs to be a hole in the top for the heat to escape. So place a small stone, about 4cm by 4cm, in the bottom of the bucket (centred). You can also use a piece of modelling clay instead of a stone. If you want to decorate the sides of the lantern, you can place a smaller tin or plastic jar in the centre of the bucket. Arrange some evergreen sprigs in the water in the space around it.
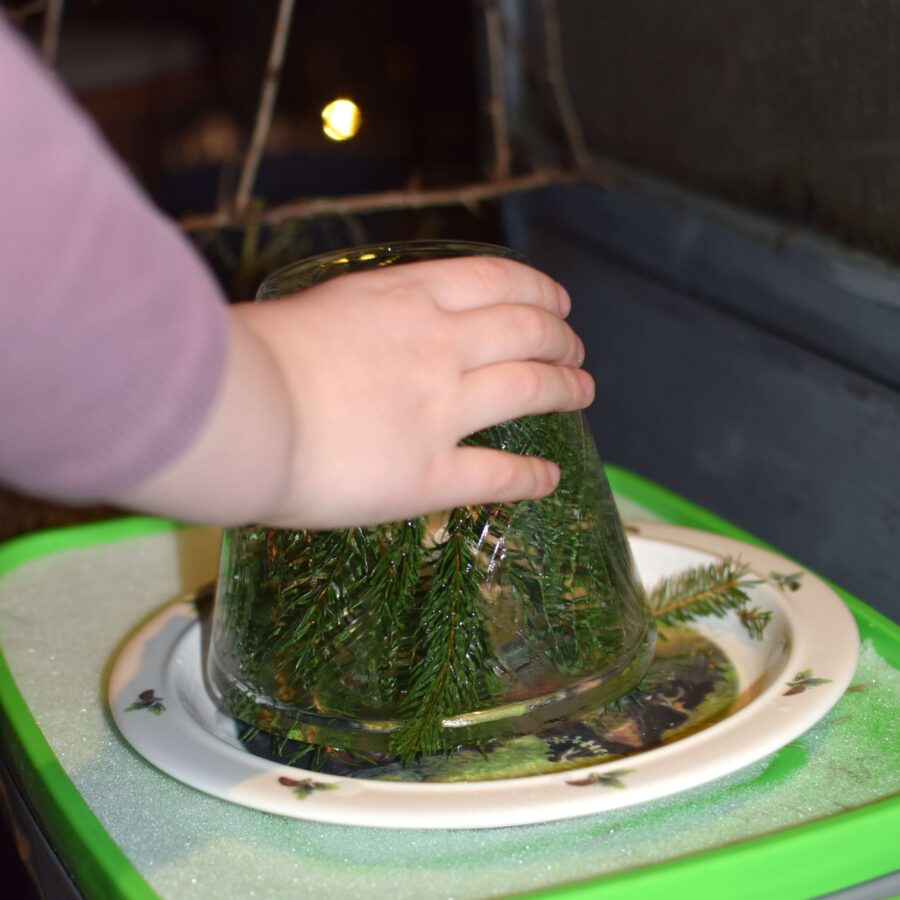
When a layer of ice a few centimetres thick has formed on the bottom and sides, it’s time to remove the ice lantern from the bucket. First, knock some holes in the surface and turn the bucket over so that the unfrozen water runs out. Run some warm water over the outside of the bucket to help ease the lantern out.
If you want a red lantern, try using water from boiled or pickled beetroot.
Find this and many more fun projects in A Year with Findus: Seasonal crafts and nature activities.
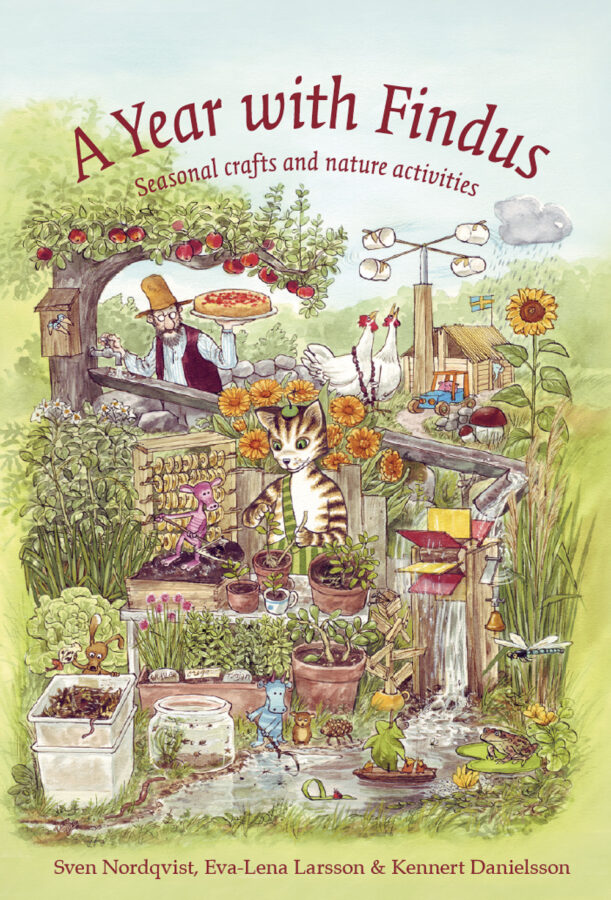
A Year With Findus: Seasonal crafts and nature activities
Eva-Lena Larsson, Kennert Danielsson and Sven Nordqvist
Brimming with Sven Nordqvist’s ingenious illustrations, here is a craft and activity book that will get you up and active. Read more…